

To scan and organize receipts on your phone, capture a readable copy, give it a date-and-merchant name, file it in a predictable folder, and reopen the exported PDF before putting the paper away. A scan named “New document” is easy to save and hard to find later.
This guide gives you a practical filing routine for iPhone and Android. It uses Scany for the scan-to-PDF workflow, with native alternatives at the end if you only need an occasional scan.
1. Decide what one document should contain
Save one receipt per document when you may need to retrieve it individually—for a return, a purchase record, or a warranty request. Keep related pages together when they belong to the same purchase: the receipt, delivery slip, and supporting paperwork can form one document.
A trip bundle can be convenient to share, but a large monthly PDF makes a single purchase harder to locate. Ask: “Will I look for this receipt on its own, or send this whole set together?” Choose the document boundary before scanning.
2. Capture the details that matter
- Flatten the receipt on a contrasting surface. Keep fingers outside the printed area.
- Use even light and move away from glare. Hold the phone parallel to the paper.
- Capture the complete receipt, including the merchant, purchase date, items, and total.
- Zoom into the preview. Check small characters, not just the page outline.
- Retake a blurred scan before continuing. A cleaner-looking filter is not useful if it erases faint print.
For a very long receipt, a single distant photo may make the text too small. If necessary, capture overlapping sections as separate pages, keep them in top-to-bottom order, and verify that no lines are missing. This is a manual workaround, not a claim that the app stitches receipts automatically.
3. Use Scany for capture, cleanup, and PDF export
Scany is Zappira’s document-scanning app for iPhone and Android. Its current official listings describe camera capture, image import, automatic cropping, perspective correction, enhancement modes, page arrangement, document renaming, folders, tags, and PDF sharing. Those capabilities fit a receipt-filing routine; they are not a substitute for bookkeeping software.
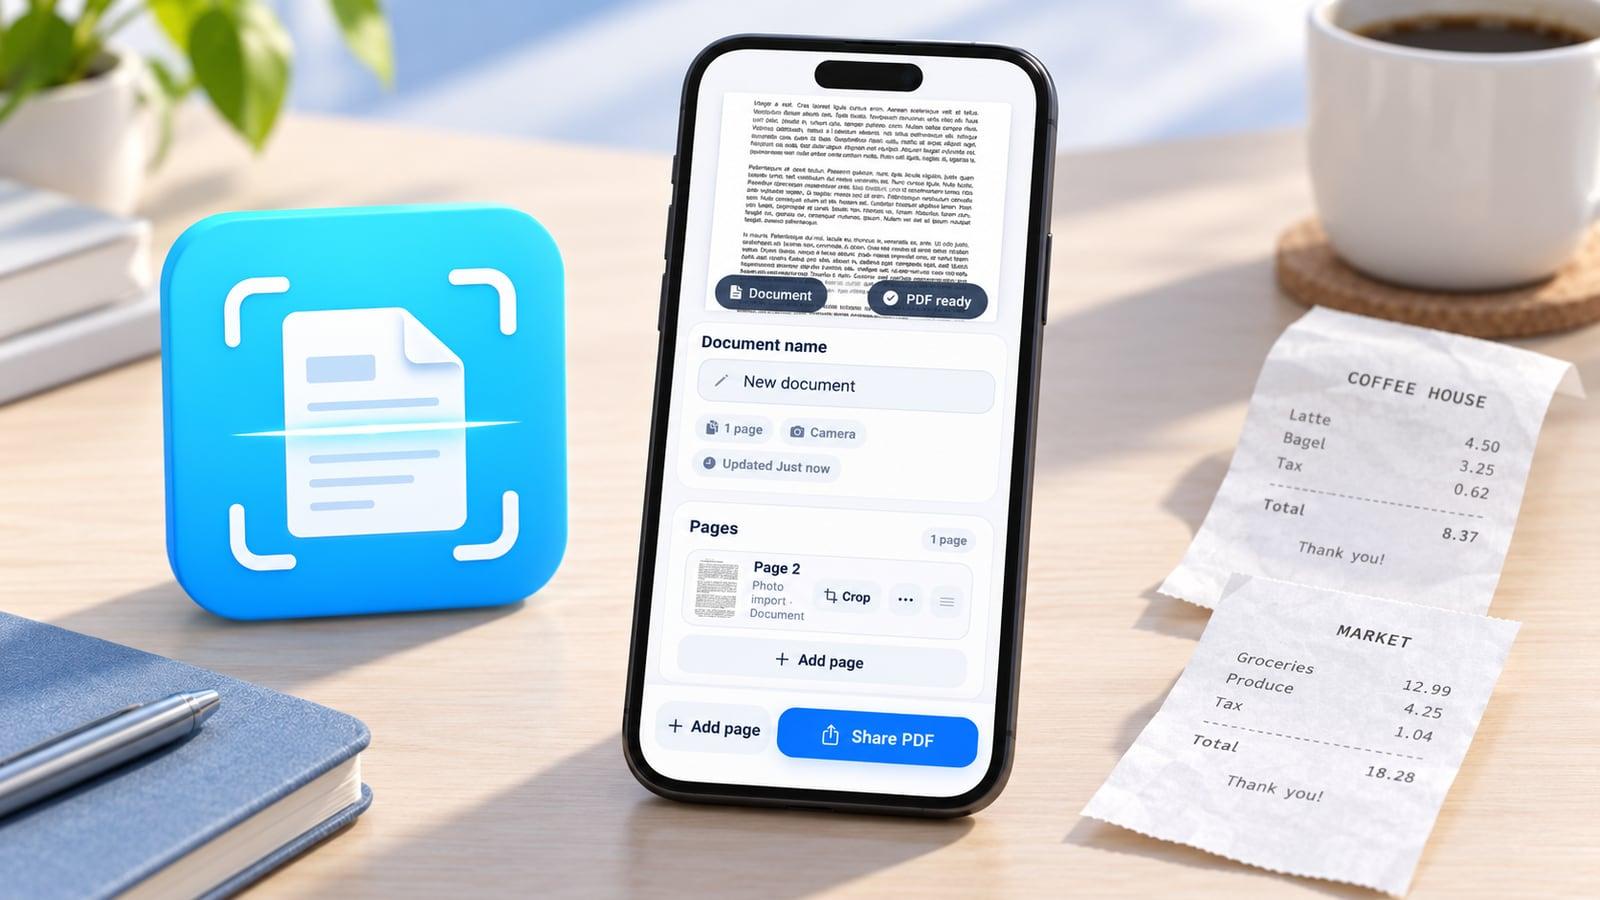
The product illustration below uses Scany’s real document screen and official icon as references. It shows the document-name field and page/share controls, rather than an invented expense dashboard.
- Start a scan, or import an existing receipt photo.
- Review the crop and page perspective. Try the available enhancement modes and keep the version with the most readable print.
- Add other pages only when they belong to the same document. Remove failed captures and arrange the remaining pages.
- Replace the default document name with a useful name. Assign a folder and relevant tags.
- Export or share the PDF, choosing an export quality that keeps small text readable.
Menu placement can vary by platform or app version. For a longer page-assembly walkthrough, see how to scan multiple pages into one PDF on iPhone.
Do not assume the scan extracts totals, creates expense reports, or makes every word searchable: those capabilities were not verified in Scany’s current listings. If that is your main requirement, choose a tool that explicitly documents it. See our mobile PDF scanner comparison for a broader decision framework.
If a focused scanning-and-filing workflow suits you, check Scany’s current official listing for your platform.
4. Use a naming rule you will remember
Use YYYY-MM-DD_merchant_short-purpose. Put the purchase date first, not the date you finally scanned it. For example, 2026-10-05_corner-market_groceries.pdf or 2026-10-05_home-store_desk-lamp.pdf. These are illustrative filenames, not actual purchase records.
Keep folders broad enough that you can choose one quickly: Household, Travel, and Purchase records may be enough. Add a year to the folder name if you need a time boundary. Use tags for a second dimension, such as return-pending, warranty, or a trip name.
A folder answers “Where does this live?” A tag answers “Why might I need it?” Start with fewer categories and add one only when it solves a real retrieval problem.
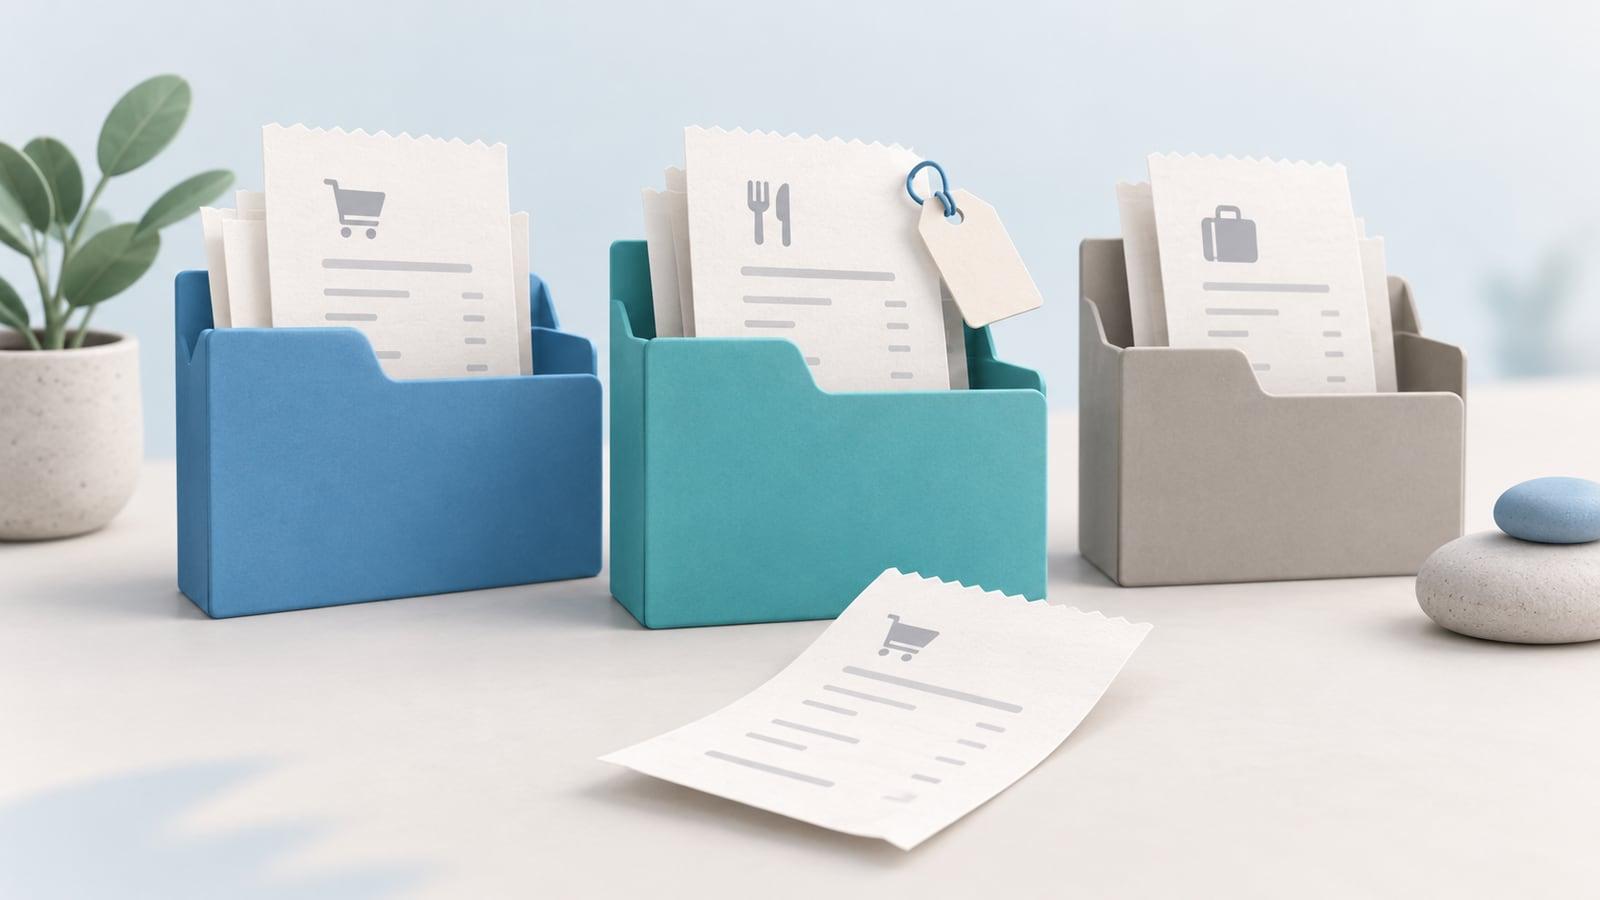
Make filing part of scanning, not a task for later. A small batch fully named and filed is more useful than a larger batch left under identical default names.
5. Reopen the export before you rely on it
Open the PDF from its destination—not just inside the scanner preview. Check the first and last pages, zoom into a total, and confirm that the file name and page order are correct. If reducing export quality makes the receipt difficult to read, export again at a higher quality.
- Read: can you identify the merchant, date, items, and total?
- Find: can you retrieve the document by its name and folder?
- Share: does the recipient or destination receive the intended PDF?
- Protect: is there a separate copy in a location you control, with sharing restricted appropriately?
Keeping a scan in an app is not, by itself, a verified backup. Use an export destination and backup method you understand. Keep the original whenever a retailer, employer, or other recipient requires it; this guide does not determine whether a digital copy satisfies their rules.
Occasional scans: iPhone Files and Android Google Drive
On iPhone, Apple documents a built-in route: open Files, tap More → Scan Documents, capture and adjust the pages, tap Done, then choose a location and save. You can apply the same filename and folder routine. See Apple’s current scanning instructions.
On Android, Google’s instructions say to open Drive, tap the Camera button, capture and adjust the document, then tap Done. Set a filename, choose .pdf, use Location to select a Drive folder, and save. This route fits a library you already keep in Drive. See Google’s scanning guide.
When a receipt is difficult to scan
Faint print: compare enhancement settings against the original. If the original information is already illegible, a scanner cannot be assumed to recover it. Ask the merchant for another copy when possible.
Existing receipt photos: import the image, check its edges and readability, then name and file it. Avoid creating an additional duplicate every time you share the same purchase record.
Too many unfiled scans: finish one small group first. Rename, file, export, and check it before starting the next. The goal is a receipt you can retrieve—not merely another photo in your library.