
If your iPhone storage is full after deleting photos, check which storage warning you are seeing before deleting more. Device storage and iCloud storage are different targets. Then inspect Recently Deleted, decide whether you want to keep the remaining photos, and check whether Photos is actually the main space user. A cleaner app is not a fix for every storage warning.
This guide is a diagnostic path, not a promise of an instant space gain. It uses current Apple guidance and Swipli’s documented features; it does not claim a hands-on storage-recovery test. Keep independently verified copies of irreplaceable media before making any deletion permanent.
1. Identify whether the warning is about iPhone or iCloud storage
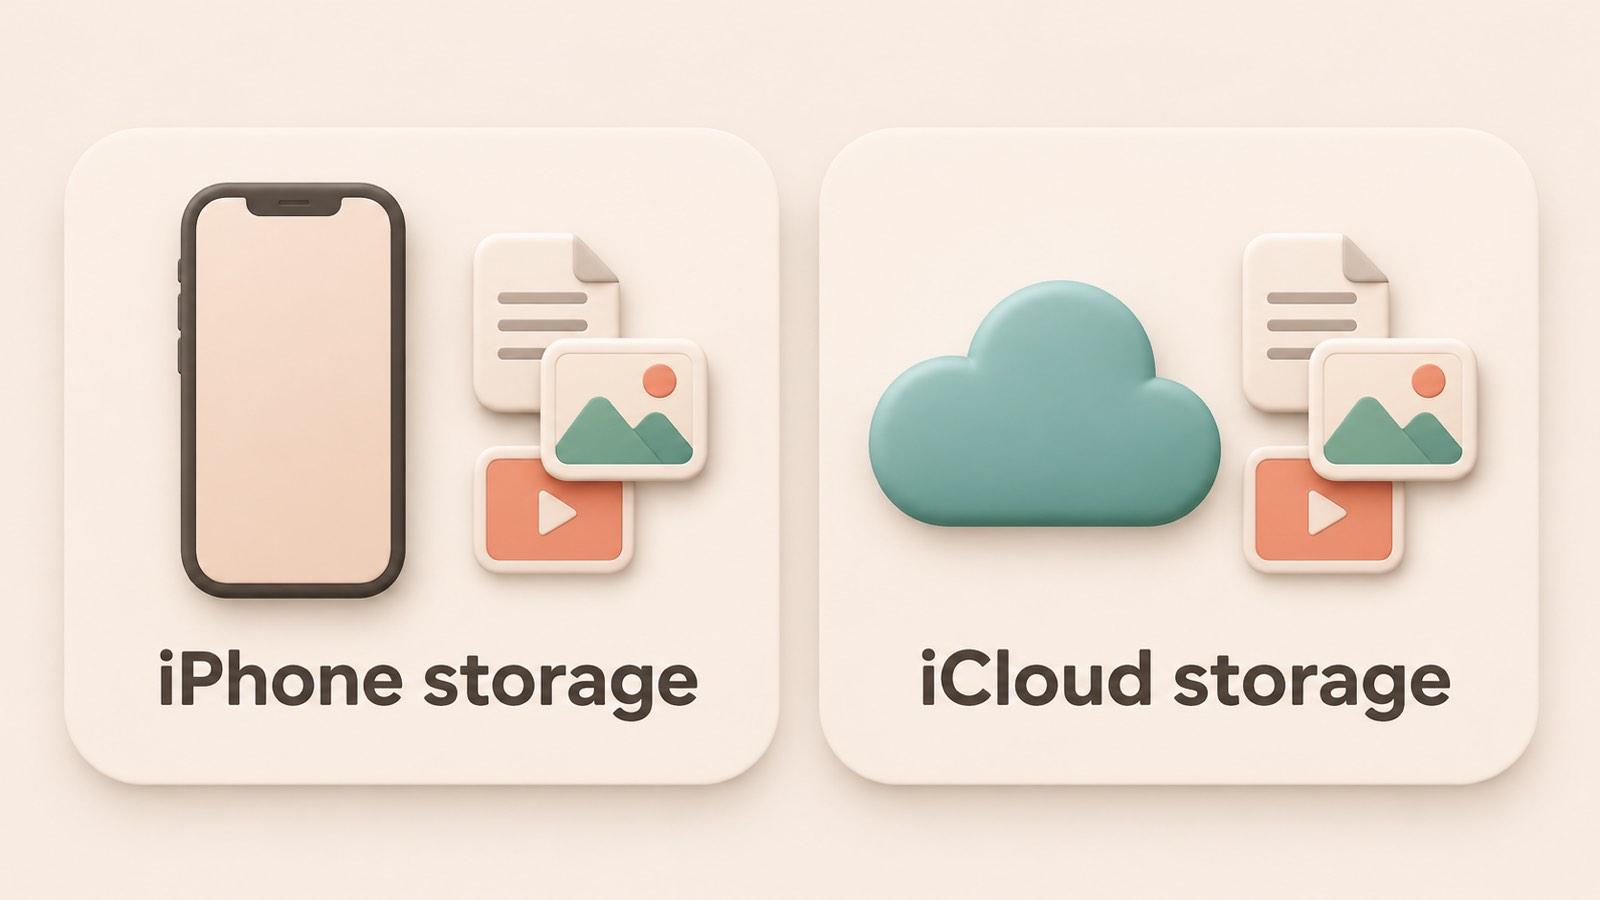
Open Settings → General → iPhone Storage for space on the device. Open Settings → your name → iCloud for your account’s cloud storage. Apple’s photo-storage guide distinguishes these two checks. Write down which screen reports the problem rather than treating both numbers as one total.
| What is full? | Start here | Avoid this assumption |
|---|---|---|
| iPhone storage | Review the device’s largest categories and whether you need local originals | Buying more iCloud capacity automatically enlarges the phone |
| iCloud storage | Review the account’s storage breakdown and the content you intend to keep | Removing only a downloaded device copy necessarily reduces the cloud quota |
The visual separates the targets, not your photo libraries. With iCloud Photos, library changes can synchronize across devices; two storage readings do not mean two independent safety copies.
2. Inspect Recently Deleted before making anything permanent
Deleting from the library does not always mean the photo has already been permanently removed. Apple’s deletion and recovery guide says items normally remain in Recently Deleted for 30 days. Check that collection for the batch you just removed.
The documented route is Photos → Collections → Recently Deleted, under Utilities. Unlock it if prompted. Recover anything you still need. If you deliberately want to remove selected items permanently, Apple documents Select → choose items → More → Delete, followed by confirmation. Read the confirmation carefully: permanent removal cannot be undone. Labels can vary with iOS.
Do not use Delete All just to make a number change. First check the actual selection and open any intended safety copies outside the synced library. If you are still checking whether the cleanup was correct, keep the recovery window. Our safe iPhone photo-cleanup guide covers that preparation in detail.
Cloud quota has a separate rule: Apple’s iCloud storage guidance says Recently Deleted items do not count toward iCloud storage. It also warns that, when the iCloud limit is exceeded, deleted items can be removed immediately without that recovery option. Do not assume emptying this collection is a universal iCloud-space fix.
3. If you want to keep the photos, review Optimize instead
If the remaining collection matters to you, pause before culling it for device space. Apple documents Optimize iPhone Storage as a way to retain full-resolution originals in iCloud while keeping space-saving versions on the phone when needed. It still depends on sufficient iCloud capacity; it is not extra physical storage inside the device.
In Settings → your name → iCloud → Photos, review the sync and storage options for your installed iOS version. Apple’s current iCloud Photos setup guide documents Optimize Storage, with an additional iPhone Storage submenu on newer versions. Follow the labels shown on your phone instead of turning sync off as an improvised cleanup trick.
Choose this route only if its cloud-storage and access tradeoffs suit you. If you prefer a separate archive, verify the exported originals at their chosen destination before removing library items. Simply seeing the same photo on another synced Apple device is not that verification.
4. Check whether Photos is still the main device-space problem
Return to Settings → General → iPhone Storage. Compare Photos with the other large entries. Apple’s device-storage guide distinguishes apps, media, messages, locally downloaded iCloud Drive content and system-related categories. Removing a small photo batch cannot address an unrelated app’s large download collection.
- Read the recommendations. Review what the phone proposes and the content affected before enabling an action.
- Inspect a large app’s storage details. Apple distinguishes offloading, which keeps documents and data, from deleting the app and its related data. Choose based on what you need to retain—not just the button’s apparent space saving.
- Review replaceable downloads deliberately. If an app stores offline media, use its own documented controls and check what will remain available afterward.
- Do not expect a photo reviewer to clean System Data. Apple explains that cached content and storage categories can be managed differently. A photo library tool is not evidence of access to those system files.
If the warning persists and the category breakdown does not explain it, stop repeating deletions. Keep the warning’s exact wording, your iOS version and the relevant storage readings, then use Apple Support. Avoid erase-and-restore or mass-deletion advice as the first response to an unexplained number.
5. Use Swipli only when unwanted photos still need review
Swipli is made by Zappira, which publishes this guide. Its current official listings describe month-by-month photo and video review, a right swipe to keep, a left swipe to mark for removal, undo, and a final screen where you can unselect deletion candidates. That helps with a specific remaining job: deciding which library items you no longer want.
It fits a mixed collection you still want to inspect, not a situation where every remaining photo is a keeper or another category is using the space. The product illustration uses Swipli’s real Review Deletions screen and official icon; it does not depict a system-storage scan.
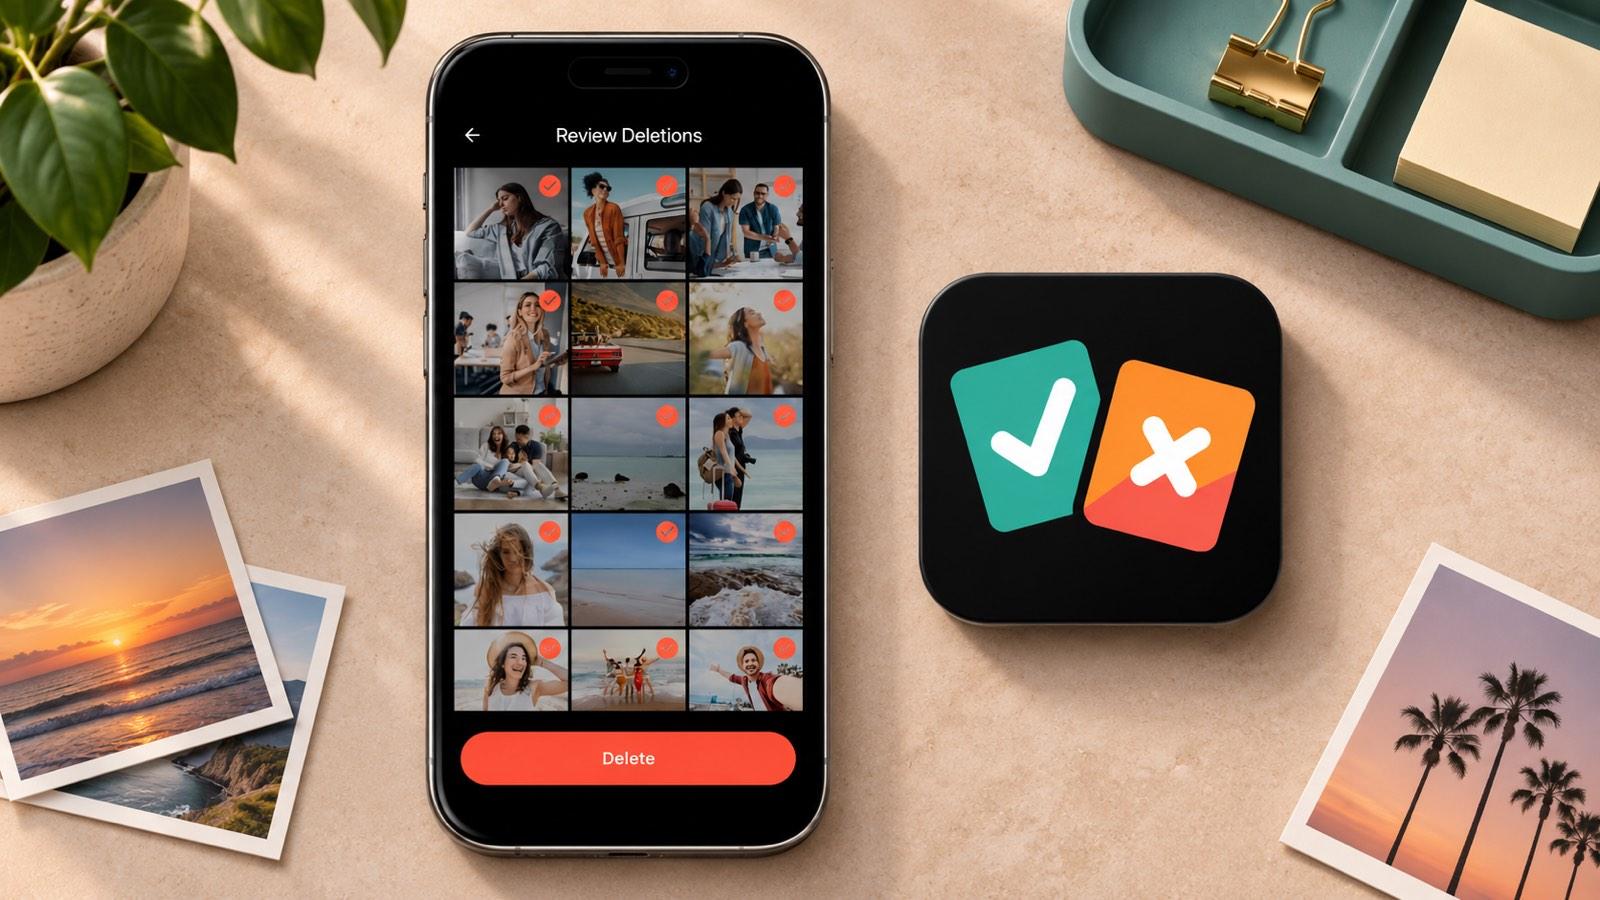
Choose one manageable month, keep uncertain items, and inspect the final candidates before confirming. This is an optional review routine—not automatic duplicate detection, cloud-backup management or a guarantee of recovered gigabytes. Deletion consequences still depend on the phone’s photo-library and sync setup. Swipli does not replace the storage diagnosis above.
If deliberate photo review is the job you still need, check the current official listing for your device. This guide’s system instructions are for iPhone; Swipli also has a verified Android version:
6. Compare the same screen before choosing another action
Use this small check record instead of judging success by the number of photos removed. It is a personal diagnostic worksheet, not a measured test result or a promise about how quickly a storage reading updates.
| Record | Before and after the chosen action |
|---|---|
| Target | The exact iPhone Storage or iCloud screen and the warning’s wording |
| Main user | The largest category or app, plus the displayed available/used space |
| One action | What you changed and whether you intended to keep or remove the photos |
| Next decision | Continue only if the result matches the goal; otherwise review the relevant category or seek support |
For example, if iPhone Storage still shows a large offline-media app after you removed unwanted photos, investigate that app’s downloads rather than escalating to a larger photo purge. If the warning is about iCloud while you want every photo preserved, review cloud capacity and what counts toward that quota. Optimize targets device space, not the iCloud quota. These are illustrative decisions, not claims about your phone’s contents.
The stopping rule is simple: do not delete something important to solve an unidentified storage problem. If screenshots are the unwanted content you actually found, use the focused iPhone screenshot-cleanup guide. Otherwise, choose the action that matches the storage target—and verify that result before starting another cleanup.