
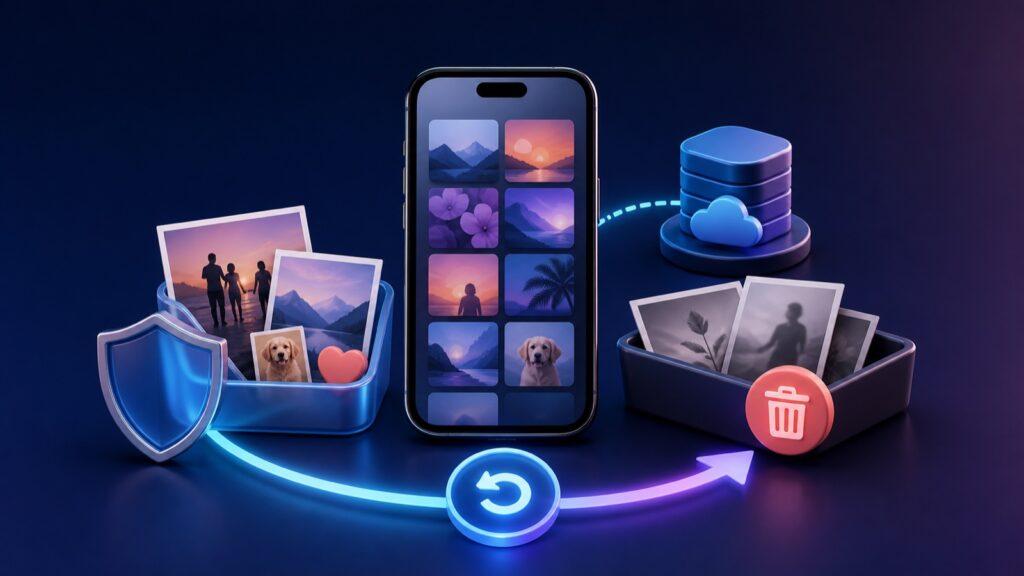
The safest way to clean up iPhone photos is to use several checkpoints instead of one large delete. Make an independent copy of anything irreplaceable, merge true duplicates with Apple Photos, review one month at a time, double-check every removal list, and leave Recently Deleted untouched until you are confident nothing important is missing.
This approach takes a little longer than automatic bulk deletion, but it gives you clear places to stop, reconsider, and recover a mistake.
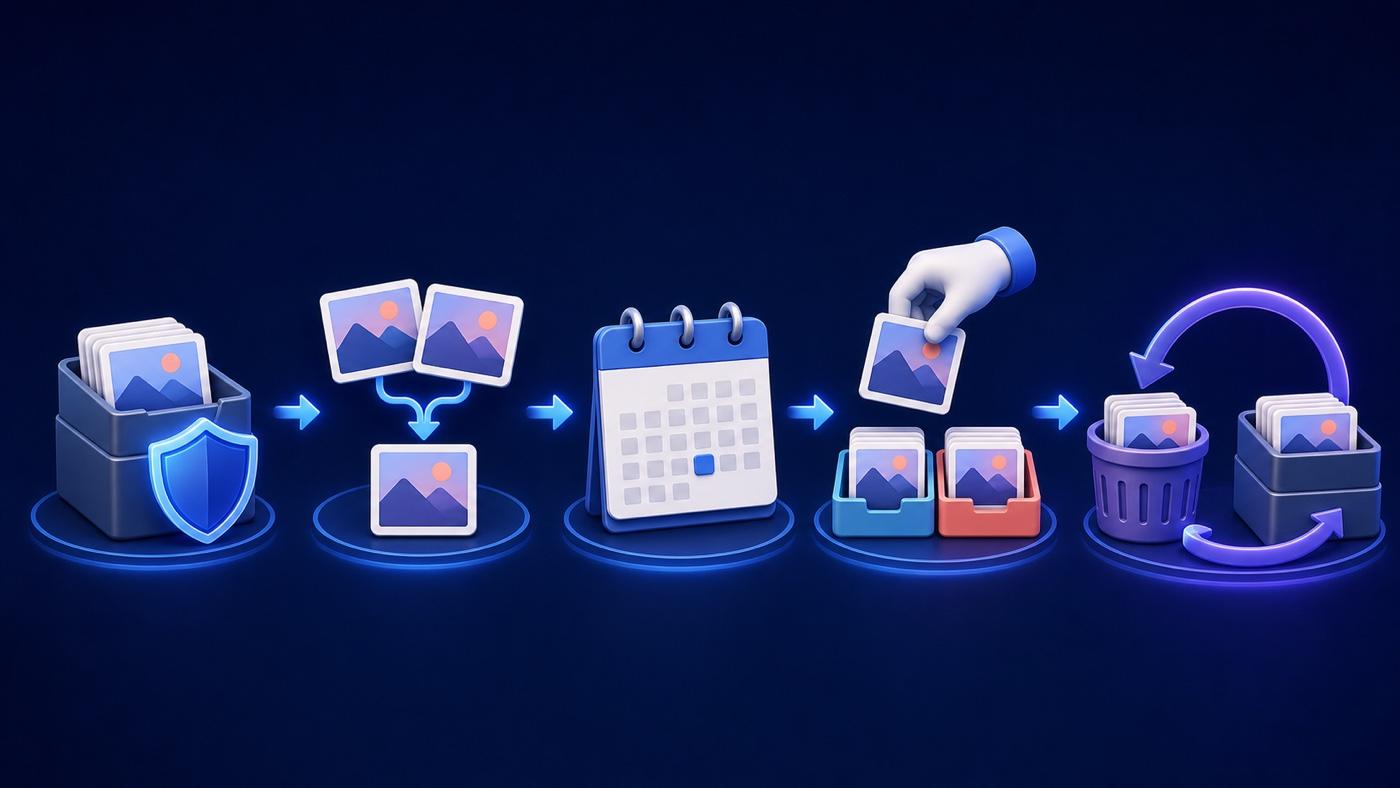
The five-step safe cleanup plan
- Protect the irreplaceable files. Confirm that important photos and videos exist in an independent copy.
- Merge obvious duplicates. Use Apple’s built-in Duplicates collection before making subjective choices.
- Work in small batches. Review one month or event instead of attacking the entire library.
- Review before confirming. Treat every removal list as a draft until you inspect it again.
- Keep the recovery window. Check Recently Deleted, and do not empty it immediately.
1. Make a real safety copy before deleting
Start with the photos you would be upset to lose: family events, travel, documents, receipts, pet photos, and anything that exists only on your phone. Confirm that those items are available in a separate archive, such as a computer or external storage device. Apple provides current instructions for exporting unmodified originals to external storage.
Do not treat an album inside Photos as a backup. An album is another way to organize the same library item; deleting that item from the library also removes it from its albums.
Understand what iCloud Photos changes
If iCloud Photos is enabled, deletion is synchronized. Apple says that deleting a photo or video on one device also deletes it on other devices signed in to the same Apple Account. Check the sync state before a large cleanup, and keep a separate copy of irreplaceable media rather than assuming another synced device is protection.
If your only problem is device storage and you want to keep every photo, deletion may not be the right first step. Apple’s Optimize iPhone Storage guidance explains how full-resolution originals can remain in iCloud while smaller versions are kept on the device when needed.
2. Merge true duplicates with Apple Photos
Remove the easiest clutter before making emotional or subjective choices. In the Photos app:
- Tap Collections.
- Open Utilities, then Duplicates.
- Tap Merge beside one pair, or select multiple sets.
- Confirm Merge [number] Items.
According to Apple’s current photo-deletion guidance, merging combines the highest image quality and relevant data into one library item. The other copies move to Recently Deleted. If the Duplicates collection does not appear, Photos may not currently have duplicate sets to show; Apple’s detection runs automatically and can take time.
This step handles duplicates, not every near-identical burst, accidental screenshot, blurry image, or photo you simply no longer need. Those still require judgment.
3. Review one month instead of the whole library
A large camera roll creates decision fatigue. A month-by-month process gives each session a clear beginning and end. Start with a routine month rather than a wedding, major trip, or family milestone. Low-emotion batches make it easier to establish sensible keep-or-remove rules.
Use three questions for each photo:
- Is this the clearest or most meaningful version of the moment?
- Would I notice if this photo disappeared?
- Does it contain information I still need, such as a receipt, serial number, address, or document?
If you hesitate, keep it for now. The purpose of the first pass is to remove obvious clutter, not force a decision about every memory.
4. Use Swipli for deliberate keep-or-remove decisions
Swipli, developed by Zappira, organizes media by month and lets you review items one at a time. Its current listings describe a left swipe to mark an item for deletion, a right swipe to keep it, an immediate undo control, and a final review where you can unselect candidates before confirming.
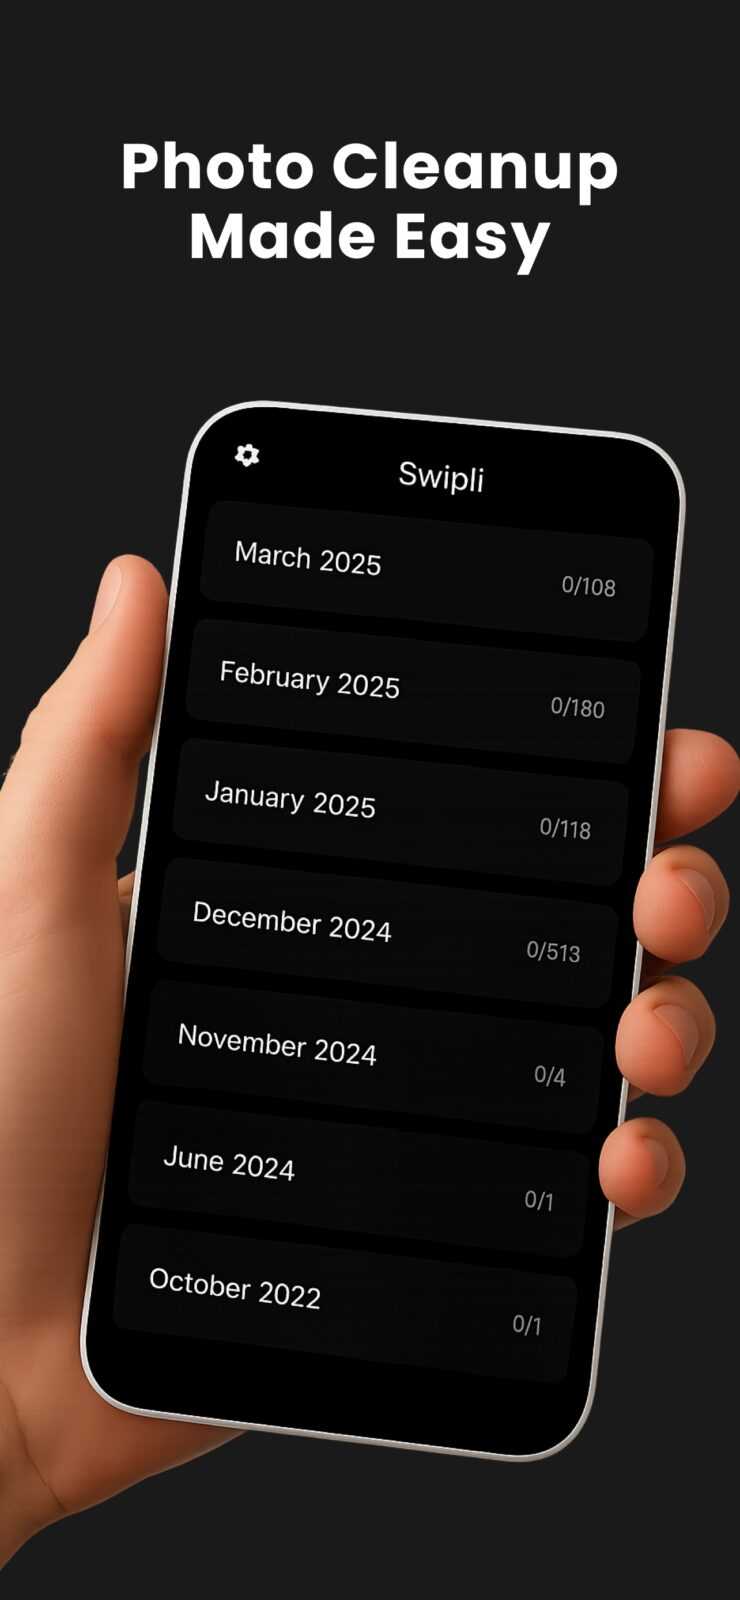
Choose Swipli if: you want a structured manual review and prefer seeing each photo before deciding. The undo and final-review checkpoints reduce the chance that one mistaken swipe becomes a final removal.
Limitation: a manual cleaner is only as careful as the choices you make. It cannot know the emotional importance of a photo, and it should not replace a separate archive of irreplaceable media.
Swipli is currently available for iPhone and Android. This guide focuses on the iPhone workflow; check the current store listing for device requirements and product details.
5. Treat Recently Deleted as your final checkpoint
Items removed from Photos normally remain in Recently Deleted for 30 days. To inspect them, open Photos, tap Collections, open Utilities, and choose Recently Deleted. Unlock the album, select anything you want back, and choose Recover.
Do not empty this album immediately after a long cleanup session. Wait until you have checked the events, people, documents, and dates that matter. Permanently deleting items from Recently Deleted removes the recovery option.
A repeatable 10-minute cleanup routine
- Choose one ordinary month.
- Merge any duplicate sets shown by Apple Photos.
- Review obvious clutter for eight minutes.
- Spend two minutes checking the removal list.
- Stop when the timer ends, even if the month is unfinished.
Short sessions are easier to repeat and less likely to produce rushed decisions. Continue with the same month next time. When it is complete, move to the next one.
Common mistakes to avoid
- Assuming iCloud is a separate deletion backup. iCloud Photos keeps the library synchronized, so deletion follows the same library across devices.
- Cleaning an important event first. Begin with a routine month and learn your decision rules.
- Using an album as a safety copy. Albums organize library items; they do not duplicate the underlying file.
- Emptying Recently Deleted immediately. Keep the recovery window until you have checked your results.
- Trying to finish everything in one session. Fatigue makes inconsistent decisions more likely.
For a detailed look at when Apple’s built-in tools are enough and when manual swipe review helps, see Swipli vs Apple Photos for iPhone cleanup. Android users can also compare methods in our guide to the best photo cleaner apps for Android.
Frequently asked questions
Will deleting an iPhone photo also delete it from iCloud?
Yes, when iCloud Photos is enabled, Apple says a deletion on one device is reflected on the other devices signed in to the same Apple Account. Export a separate copy of anything irreplaceable before a large cleanup.
How long can I recover deleted iPhone photos?
Apple keeps deleted photos and videos in Recently Deleted for 30 days. You can recover them during that window unless you permanently remove them sooner.
Why is the Duplicates collection missing?
The Duplicates collection appears only when Photos has identified duplicate photos or videos. Detection happens automatically and may take time.
Should I use automatic bulk deletion?
Use automatic grouping as a way to find candidates, not as a substitute for review. Important screenshots, documents, and similar-looking memories can be meaningful even when they appear redundant.